AI Art to Embroidery: What Actually Happens Before We Stitch It

AI can help us explore the idea. Turning that idea into thread is another process entirely.
A Design Can Look Great on Screen and Fail in Thread
A design can look incredible on a screen and completely fall apart when you try to embroider it. That's the part of AI art nobody really talks about.
An image generator can give you a composition in seconds. It can give you dramatic lighting, complicated colors, and details that look great when you're zoomed in on a monitor. None of that tells an embroidery machine how to build the design out of thread. That's where the actual work starts, and it's the work this article is about.
Where AI Fits Into Our Process
Sometimes a customer knows what they want but has trouble describing the composition. They know the character, the colors, and the setting, but not whether the figure should face left, how much of the Tampa skyline should show behind it, or how everything fits on a cap front versus the back of a crewneck. That's one place AI is useful on some original custom projects. We can explore several directions quickly, pick the one that works, and move into actual artwork.
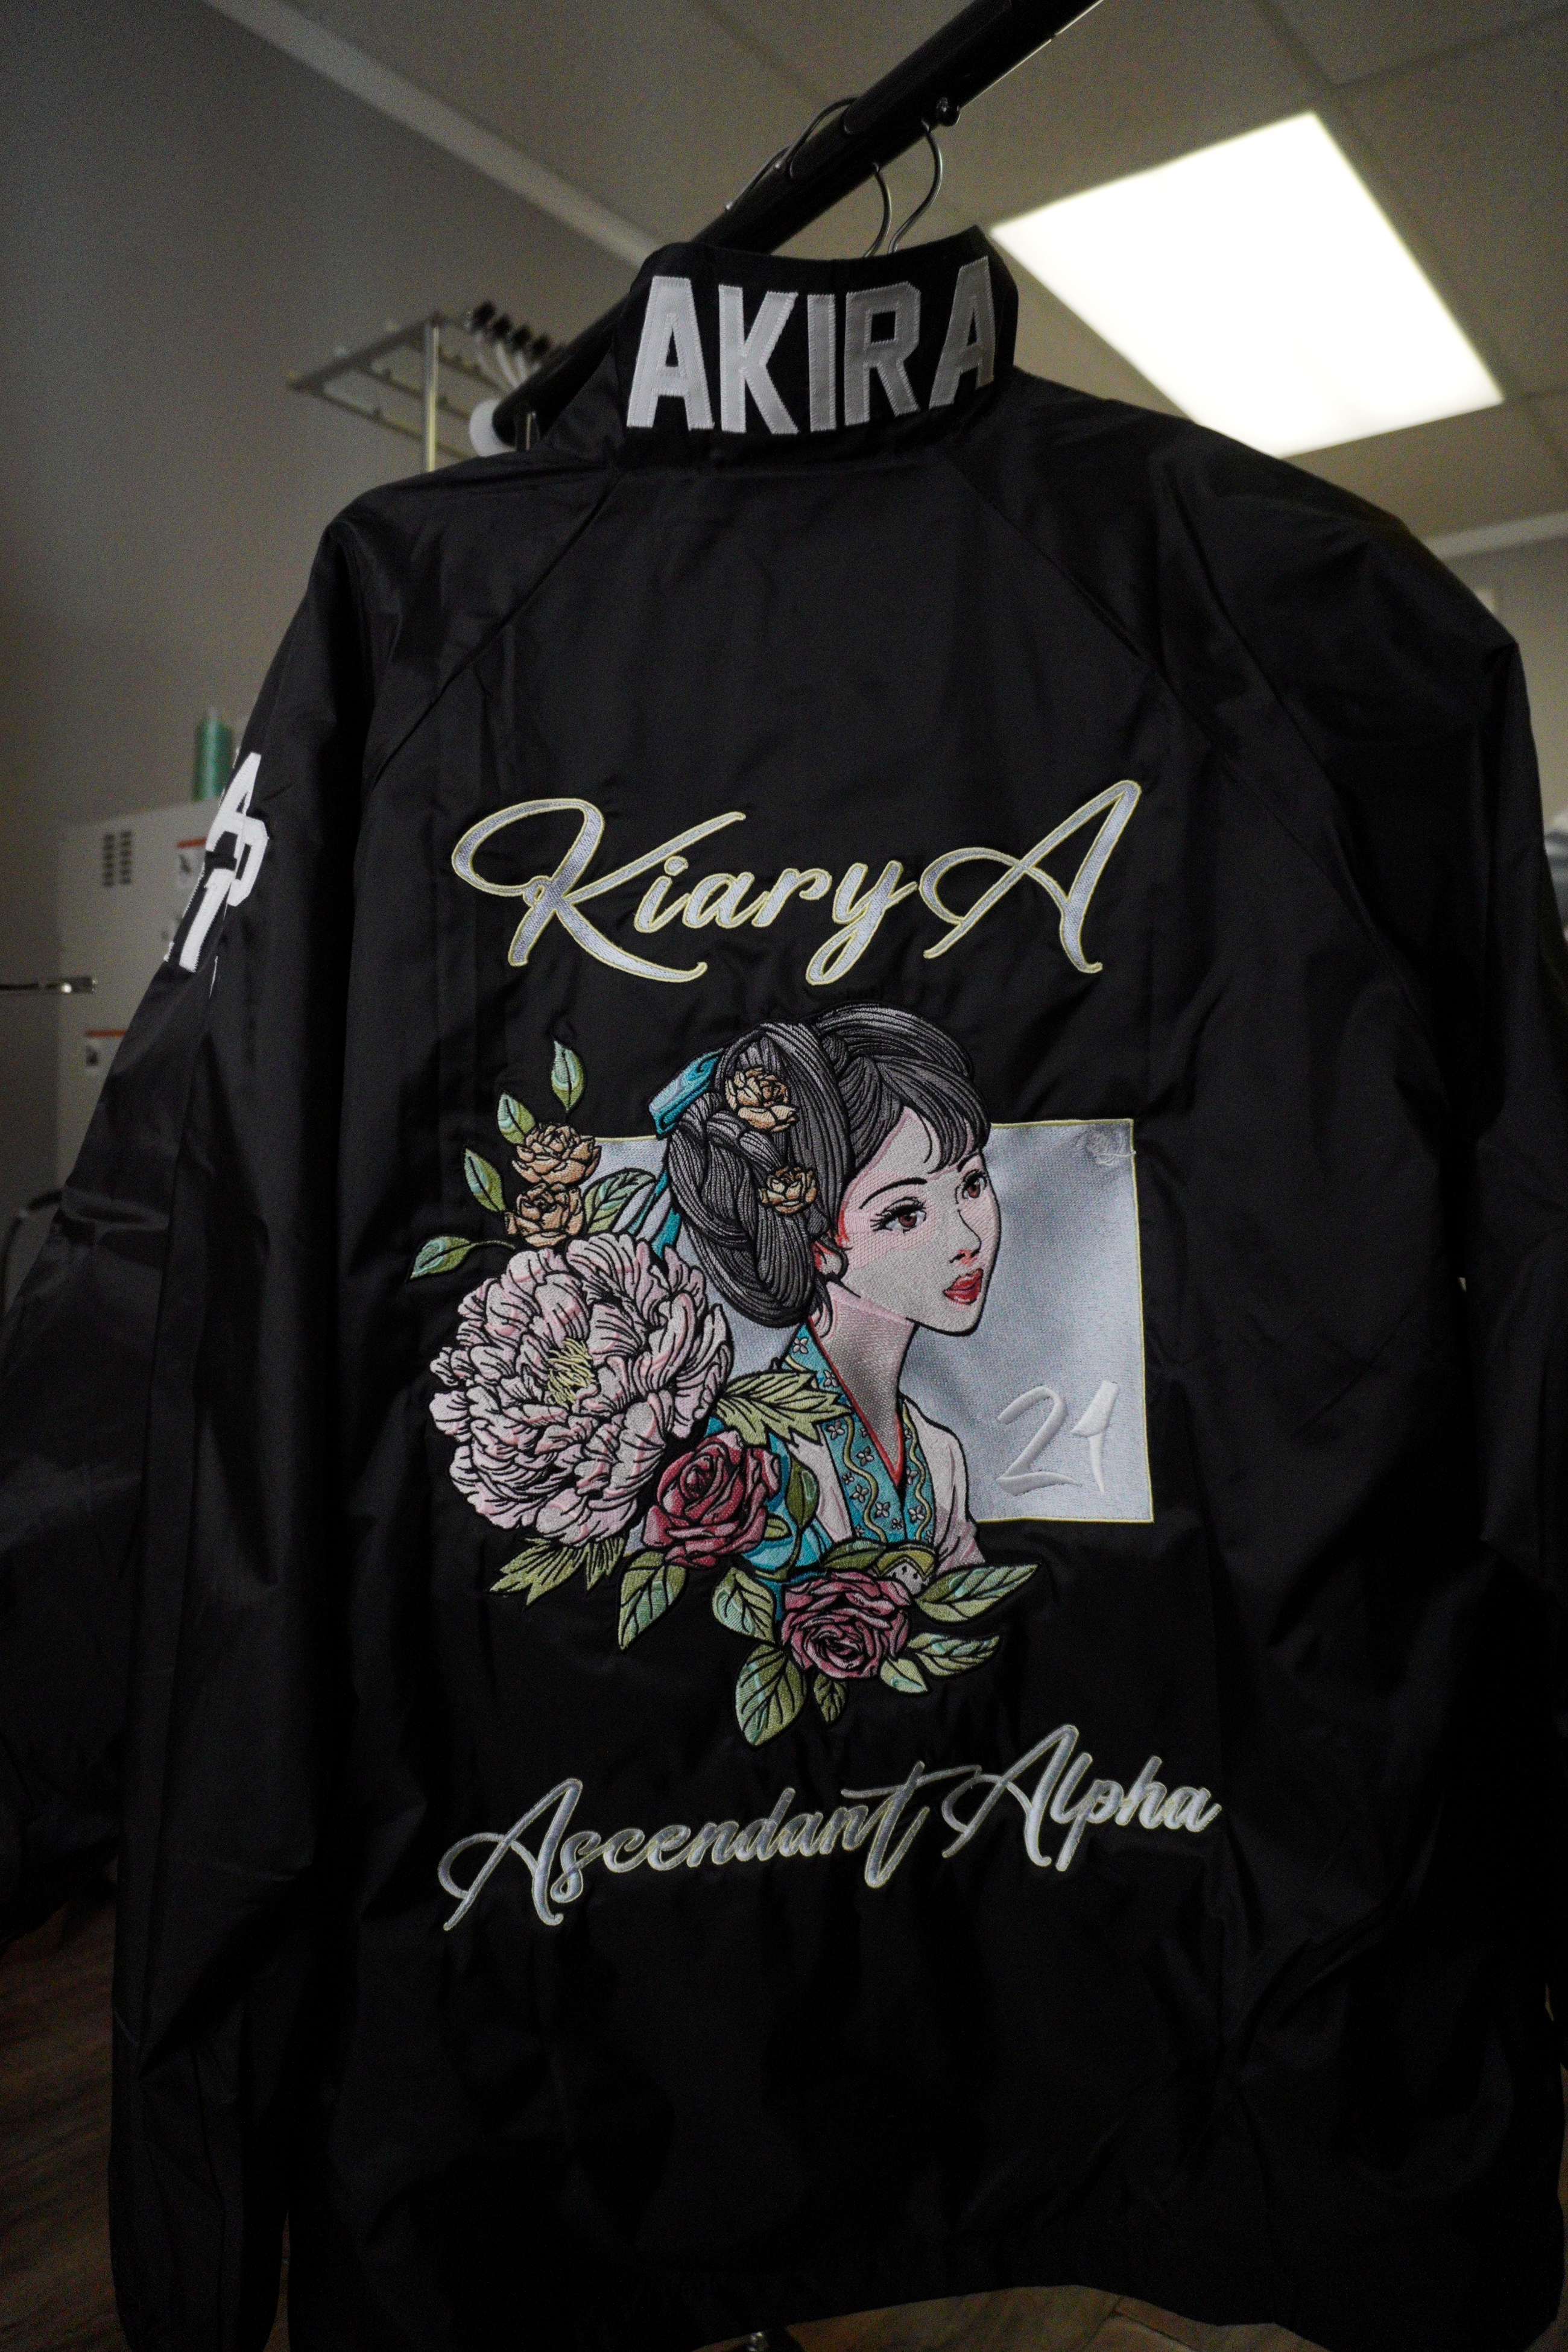
Once direction is approved, the generator's job is over. Raw AI output is never used as production artwork. It's a reference, the same way a customer's phone photo or a pencil sketch is a reference. Plenty of our work never touches AI at all: supplied logos, Greek letters, and customer artwork go straight to cleanup and digitizing.
Can You Embroider an AI-Generated Image?
Yes, but the generated image normally needs artwork preparation and digitizing before an embroidery machine can use it.
Some shops skip that. They take a raw AI image, run it through auto-digitizing software, and send the result straight to a machine. The industry has a word for what comes out, and "slop" is not unfair. The problem isn't that the image was made by AI. The problem is that nobody made the decisions that turn an image into an embroidery design. An image generator can give us a beautiful gradient, dozens of subtle colors, and tiny highlights. An embroidery machine can't reproduce those pixels. Someone has to decide which colors become actual thread, which details survive at the finished size, where satin stitches make sense, where fills work better, and how the design will behave once thousands of stitches start pulling against the fabric.
Not every design should be embroidered at all. Photographic art, smooth gradients, and very fine detail are often better printed, and we say so in Embroidery vs. Screen Printing.
From AI Image to Embroidery File
Here is the sequence, in the order it happens.
- Concept development. AI may help us test poses, compositions, or visual directions. Or a customer sends a sketch, a reference photo, or a description. Either way, this step ends with an agreed direction, not finished art.
- Artwork cleanup and redraw. Our artist redraws the piece. Anatomy gets corrected (generated hands and teeth are rarely right), linework is rebuilt so every edge is a deliberate shape, proportions are fixed, and overlapping elements are separated so each one can be stitched on its own.
- Designing for thread. Colors get reduced to a controlled palette. Tiny details get enlarged, simplified, or removed based on the finished embroidery size. Shapes get adjusted so they hold up as stitches instead of pixels.
- Digitizing. The illustration becomes instructions for the machine. Stitch type, stitch direction, density, underlay, sequencing, and pull compensation all have to be set for every element.
- Test sew-out. A design that looks correct on a monitor can behave differently once it's stitched. Registration can shift, fabric can distort, outlines can close up, and small lettering can disappear. We sew a test on the actual garment type and look.
- Revision. Fix the stitch file and test again when needed.
- Production. Only then does it go on the customer's garment.
Steps two through six are where the time goes, so they deserve a closer look.
Artwork Cleanup
Generated images are convincing at a glance and unreliable up close. Fingers merge, scales don't follow the body, a claw passes through a wave instead of in front of it. On a screen you forgive it. In thread, every one of those errors becomes a permanent, raised, glossy mistake that the eye lands on immediately. So the redraw isn't a tracing pass. Our artist rebuilds the drawing so that every shape has a clear edge and every overlap has a clear front and back, because the digitizer will need to know which element stitches on top.
Designing Around Thread
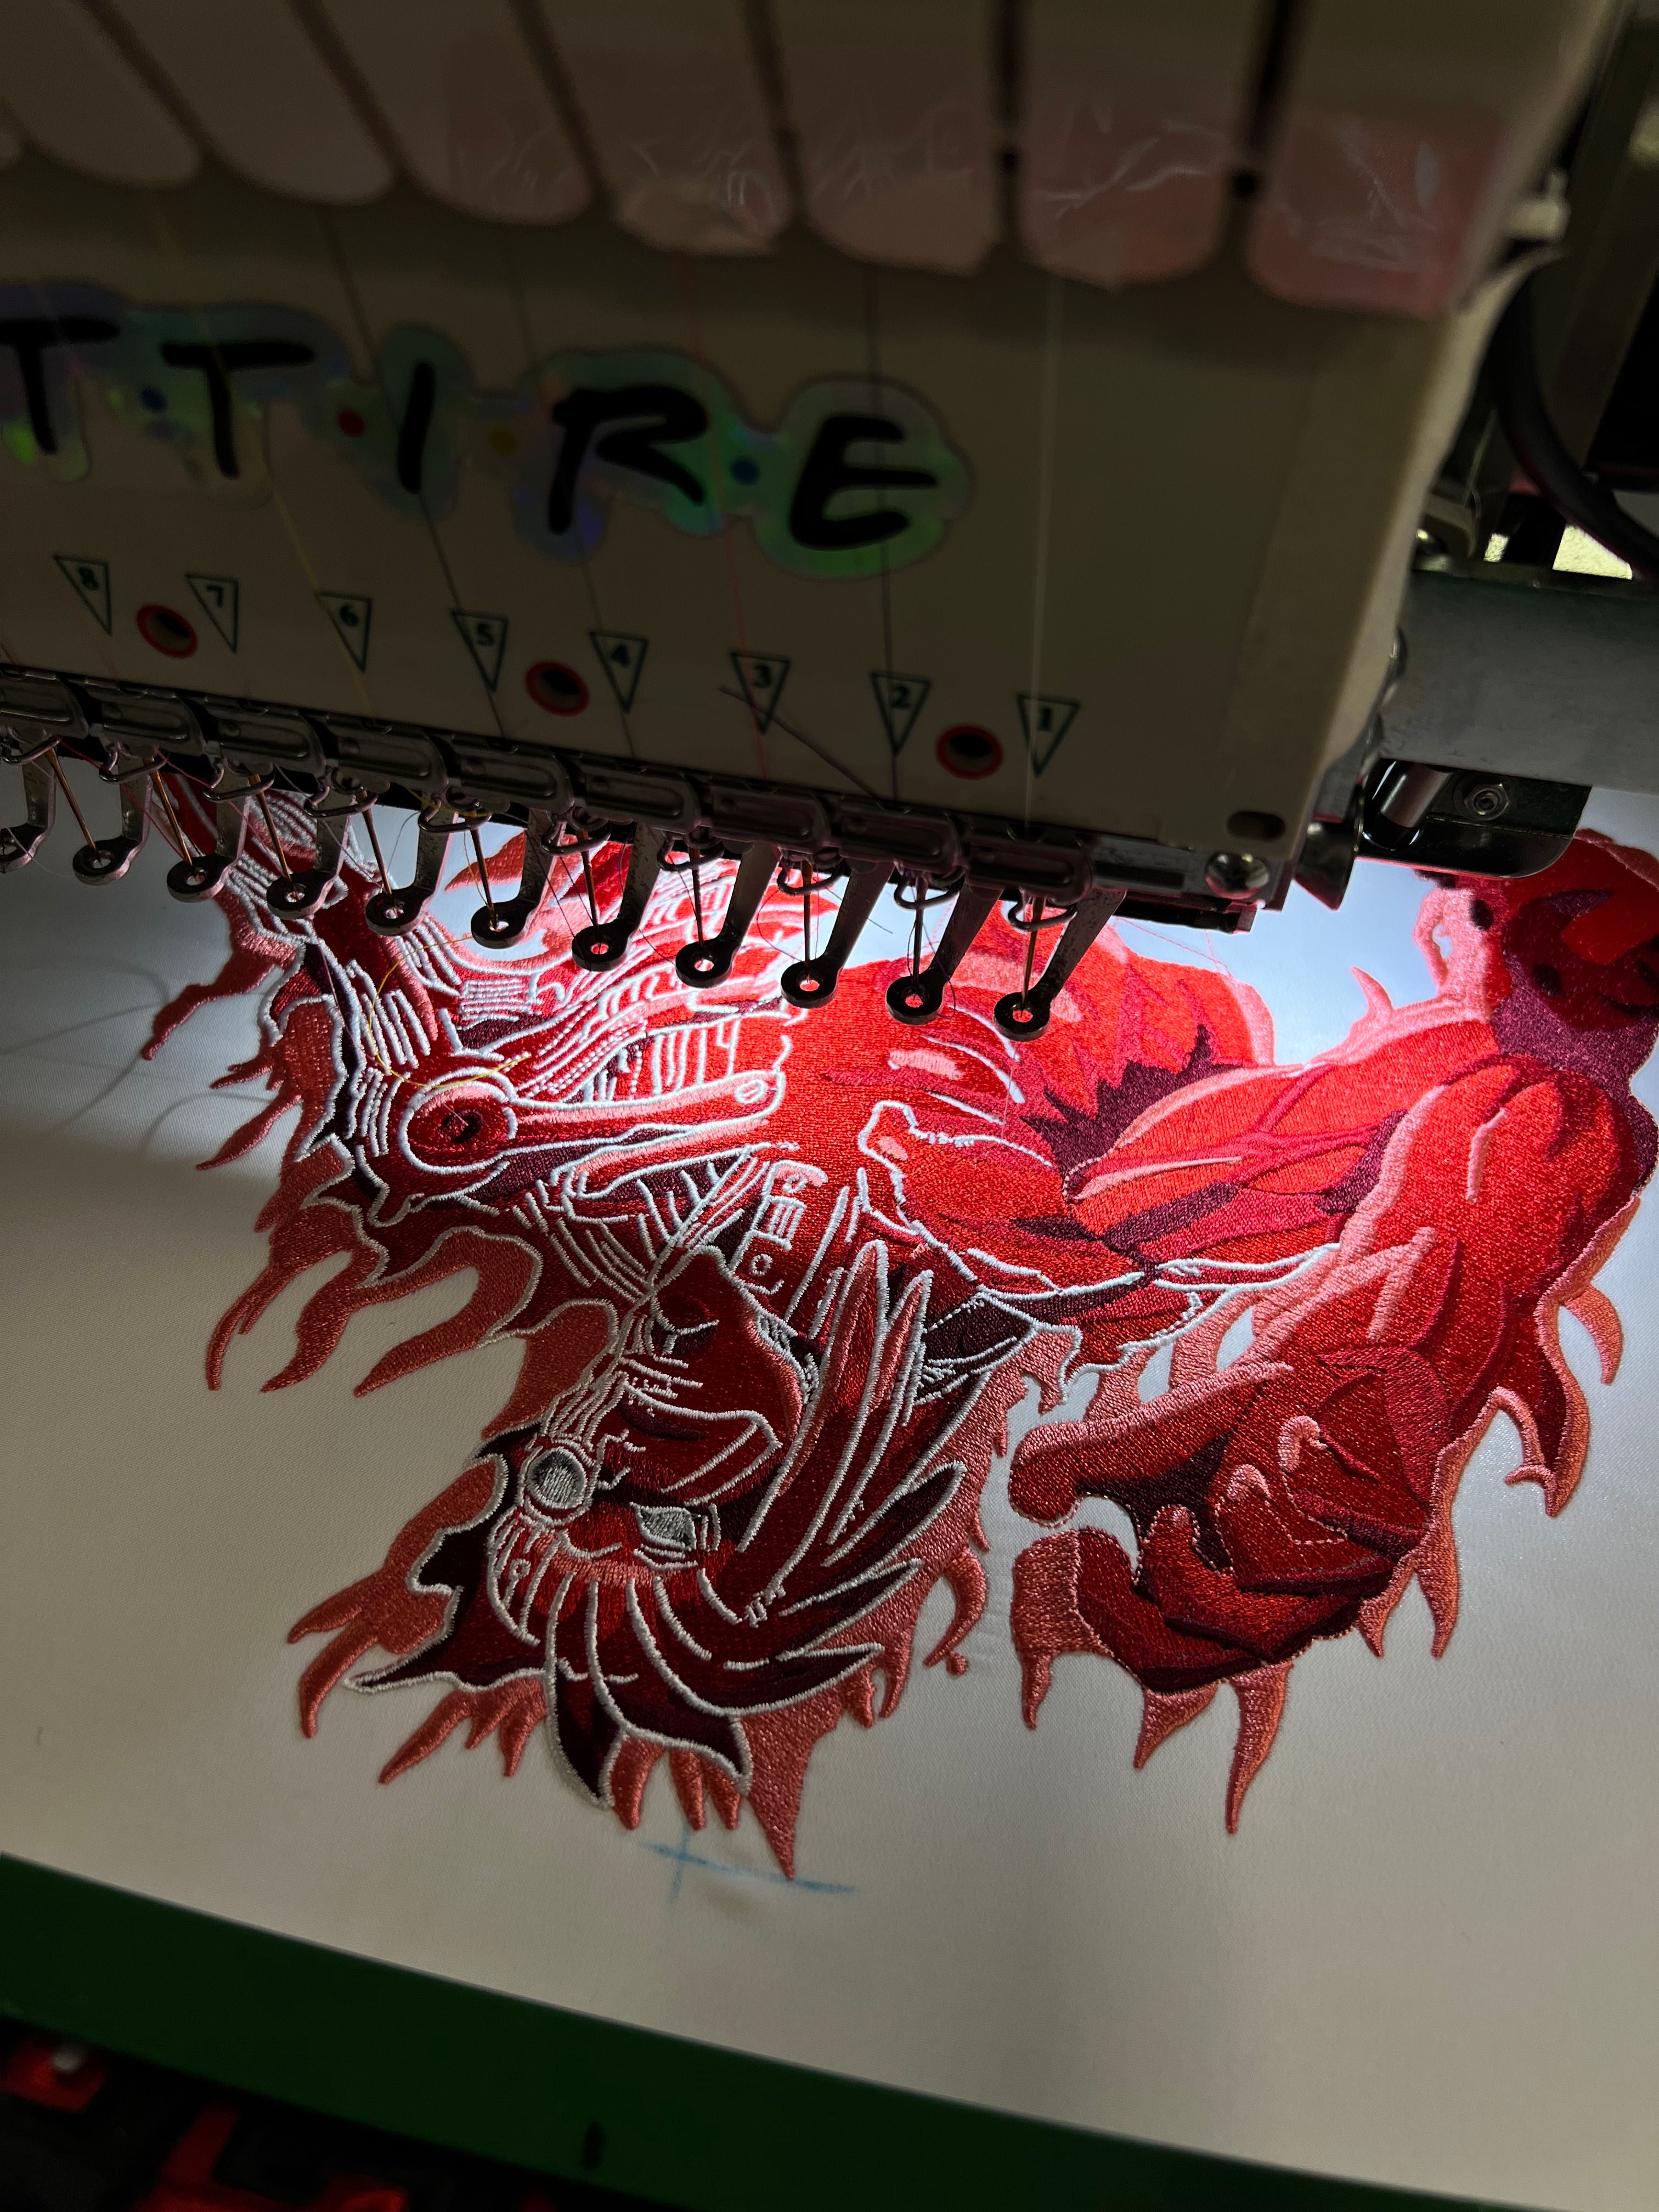
Detail at finished size. A highlight in a dragon's eye that looks great at 400 percent zoom may be smaller than a single stitch once the design is four inches wide on a cap. Thread has physical width. At very small sizes, satin columns become increasingly difficult to hold cleanly, and lettering around a quarter inch tall or smaller can quickly lose its counters and definition depending on the font, fabric, thread, and digitizing. The same design gets different treatment at different sizes. On a ten-inch jacket back we can usually keep the thin edge of a flame or the individual claws on a paw. On a three-and-a-half-inch chest version of the same art, those get merged into the shape next to them or dropped, because at that size they'd stitch as a single wobbly line. Our artist works at the real finished size and makes those calls detail by detail.
Gradients. Thread is a solid color. A smooth gradient has to become separate thread colors stepped next to each other, two colors blended in alternating stitches, or a change in stitch direction that shifts how the area catches light. Sometimes the right answer is to remove the gradient because the shape reads better flat. This is why our FAQ asks for solid colors and thick lines rather than photographs.
Color count. Our guidance is about five thread colors for a design under five inches and up to fifteen for larger pieces. Every color change is a thread change, and every thread change adds a trim and a tie-off that can show. A concept with twenty near-identical shades gets rebuilt as a palette where each color does a job. We stitch with Madeira Polyneon polyester, so colors are limited to what exists on a cone and have to be picked against the garment. A mid-blue that looked right on a white screen goes muddy on burgundy twill.
Stitch direction. Two areas in exactly the same thread color can look noticeably different because the stitches run in different directions and reflect light differently. We use that on purpose, separating scales from belly without adding a color. It also means a shape that looks flat in a render will not look flat once stitched, so the direction of every area has to be planned so the result looks intentional.
Digitizing: Turning Artwork Into Stitches
Digitizing isn't saving an image as a DST file. It is deciding how the machine will physically construct the design, and each decision changes how the finished piece looks and holds up.
The first decision is stitch type. Narrow shapes and outlines get satin stitch, which gives that raised, glossy look. Larger areas get fill stitch, also called tatami, which lies flatter and keeps the fabric stable. Fine lines get running stitches. Choosing wrong shows immediately: satin across a wide area leaves long, loose floats that snag, and fill in a narrow area looks coarse.
Before any of those visible stitches go down, the digitizer lays underlay, a foundation of stitches you'll never see. Underlay holds the fabric steady, keeps top stitches from sinking into fleece or pique, and gives satin columns something to sit on. Skip it and letters look thin and edges ripple.
One of the biggest problems is pull. As thousands of stitches go into the fabric, the thread draws it inward, so a shape sews narrower than it was drawn. A circle comes out as a slight oval. The fix is pull compensation: the digitizer intentionally extends shapes past their artwork boundaries so they end up the right size after the fabric pulls. Without it, outlines drift off their fills and gaps open between colors once the design comes off the machine.
Sequencing matters too. The order the machine sews each section changes the result, because a large fill stitched last can shift the fabric enough that an outline sewn earlier no longer lines up with it. Registration, the alignment between elements, is planned in the stitch order rather than fixed afterward.
Then there's density. Too few stitches per inch and fabric shows through. Too many and the piece goes stiff, thread breaks climb, and a cap front puckers. The right density depends on the garment, the backing behind it, and whether the design is going on a structured cap or a soft crewneck.
Artwork preparation and digitizing vary with the complexity, size, number of colors, and garment. That's why we price them as separate services rather than treating digitizing as an automatic file conversion. See current artwork and digitizing pricing → If you want to know what skipping these steps costs over the life of a garment, that's covered in The Real Cost of Cheap Embroidery.
Why We Test Before Production
A design can be perfectly drawn and still be poorly suited for embroidery. The only way to know is to sew it. We run a test on the same garment type the order calls for and check registration, coverage, how the small details resolved, and whether any satin column needs widening. Adjustments go back into the file, and if the change is significant, it gets sewn again. That's where problems get found, on a test piece instead of on the customer's jacket.
Real Example: Concept to Stitch-Out
The two-dragon piece in the photo above is a good example of all of this at once. The finished design uses a small set of blue, gray, white, and black threads on black fabric. The scales, the water, and the flames are separated as much by stitch direction as by color, which is why the piece reads as layered even though the palette is tight. Every one of those choices was made in the artwork and the digitizing, not in the image the concept started from.
Digital Artwork vs. Embroidery at a Glance
| Feature | Digital / AI Artwork | Embroidery |
|---|---|---|
| Color | Millions of display colors | A deliberately selected physical thread palette |
| Fine detail | Can remain visible when zoomed in | Must survive at the actual stitched size |
| Gradients | Smooth pixel-based transitions | Recreated with thread colors, stitch patterns, direction, or simplification |
| Structure | Flat visual information | Physical stitches interacting with fabric |
| Light | Simulated digitally | Thread sheen changes with stitch direction |
| File | JPG, PNG, PSD | Digitized machine instructions such as DST |
| Distortion | None from the image itself | Thread tension and density can pull or shift fabric |
| Testing | Looks right on screen | Must also sew correctly on the garment |
Can You Send Us an AI Image?
Yes. Treat it the way you'd treat a sketch or a reference photo: a way to show us what you're picturing. We'll tell you what in it will translate to thread, what will need to change, and what the design work will involve. What we won't do is put a generated image straight onto a garment, for all the reasons above.
FAQ
Does Sleek Attire use AI?
For some original custom projects, yes, at the concept stage only. It helps us test compositions quickly. Everything after that, from the redraw through digitizing and the test sew-out, follows the process described above.
Can AI-generated art be embroidered?
Yes, but it generally needs artwork preparation and digitizing before an embroidery machine can use it. Auto-digitizing a raw image skips the decisions that make embroidery look right.
Can I turn a PNG into a DST file?
Software can perform an automatic conversion, but the result is rarely production quality. Professional digitizing requires decisions about stitch type, direction, density, underlay, sequencing, compensation, and the specific garment being embroidered. None of those are in the PNG.
Can I just send you a DST file?
Yes. If you already have a DST file, you can send it with your order. We'll review it to make sure it's appropriate for the garment, size, and placement you're requesting. Depending on how the file was originally digitized, adjustments or re-digitizing may still be necessary before production.
How long does digitizing take?
Small designs usually take 24 to 72 hours. Large designs can take up to a week, and complex designs with heavy line work and fine detail can take one to two weeks. That's separate from production time, which is covered on our FAQ page.
Will I see my design before it's embroidered?
For custom artwork, we provide a visual mockup for approval before moving forward with production. Once the artwork is approved, it may still require embroidery-specific adjustments during digitizing and testing to make sure it stitches correctly.
Why does digitizing cost extra?
Because it is separate work. Setting stitch type, direction, density, underlay, sequencing, and compensation for every element takes time, and it is listed as its own line on our pricing page.
How many thread colors can a design have?
Around five for designs under five inches and up to fifteen for larger pieces. Fewer is usually better.
What kind of artwork embroiders best?
Solid colors, clear shapes, and thick lines. Photographs and gradients need to be reinterpreted before they can be stitched.
Turn Your Idea Into Embroidery
Have a sketch, a reference image, an AI concept, or an idea you haven't figured out how to draw yet? Send it to us. We'll help determine what needs to happen before it becomes embroidery. Every original Sleek design goes through the same basic journey: concept, redraw, embroidery preparation, digitizing, testing, and finally production, before it reaches the finished garment. We're based in Tampa.
Start a Custom Embroidery Project →
Want to see finished work first? Browse the collection.
Michael Hsu is the founder of Sleek Attire, a Tampa custom embroidery studio specializing in original artwork, Greek line jackets, and detailed multi-color embroidery. He has worked in embroidery since 2017.